
Today's St. Patrick's Day card features a variety of mixed media combined with several die cuts. 

To create the background, I applied two shades of green alcohol inks along with a yellow alcohol pearl ink and a metal alloy ink to a Yupo card panel. Before the ink was completely dry, I pressed some gold sparkle foil onto the alcohol-inked panel. This caused the foil to stick to the wet parts of the Yupo paper.


To create the pot of gold, I die cut a black cauldron from black cardstock. I added gold gelato to the edges of the cauldron. I applied a small amount of water to the gelato and used my finger to smooth out the pigment. This gave the sides of the cauldron a sparkle and shimmer.

I used VersaMark ink to stamp the sentiment in the center of the cauldron. I heat embossed with gold sparkle embossing powder. To create the coins, I used gold foil cardstock and a scalloped slimline rectangular frame die cut. After die-cutting the rectangular frame, I cut off some of the scallops and layered them to resemble coins within the cauldron. I used the same gold foil cardstock to die-cut a large and small horseshoe. I glued the small horseshoe to the cauldron near the sentiment.

To create the rainbow, I used a rainbow scene die to die cut the rainbow out of red, green, and blue foil cardstock. I placed the rainbow behind the pot of gold to make it appear as though it is leading to the pot of gold. To add a little dimension, I applied fun foam to the back of the cauldron and popped it up above the rainbow. The alcohol-inked panel was matted with black and gold foil cardstock and adhered to a light green card base.

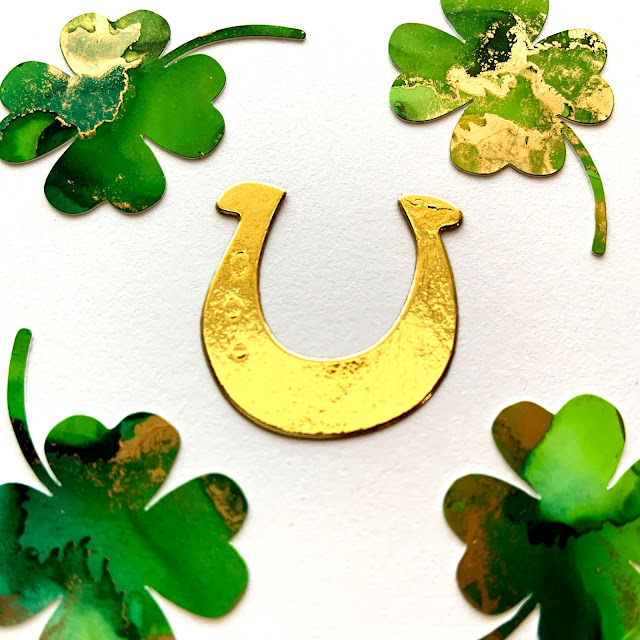
I had an additional alcohol-inked background panel that I didn't want to go to waste, so I used it to cut out several shamrocks to embellish the inside of the card. To do this, I used a shamrock rubber stamp and black ink to stamp several shamrocks onto a piece of white cardstock. I scanned the stamped images using my Brother Scan and Cut. I used this scan to cut several shamrocks out of the additional alcohol-inked background. I used four of these shamrocks and the large horseshoe to decorate the inside of the card.

This was such a fun card to make. I enjoyed using all of the different mixed media products in combination with multiple dies from my collection. It was fun to use my dies in a unique way to create a fun St. Patrick’s Day card.
St. Paddy's Day
Supplies:
Supplies:
- Recollections Cardstock - black, light green
- Recollections Foil Cardstock - gold, blue, green, red, white
- Yupo Paper
- Ranger Alcohol Inks - Limeade, Bottle
- Ranger Alcohol Pearl Ink - Alchemy
- Ranger Alcohol Alloy Ink - Statue
- Ranger Alcohol Blending Solution
- Spellbinders Glimmer Hot Foil - Speckled Aura
- Faber-Castelle Metallic Gelato - Gold Champagne
- The Stamps of Life - Leprechaun2Stamp stamp and die set
- VersaMark Ink
- All Night Media Gold Holographic Embossing Powder
- Stampabilities Four Leaf Clover C1105 Rubber Stamp
- Versafine Onyx Black Ink
- Hello Bluebird After the Rain Scene Die
- Heffy Doodle Slimline Pull Tab Dies
- Tim Holtz Sizzix Bigz Die - Cauldron
- Fun Foam
Comments
Post a Comment