
You're Sweet

The weather has quickly turned from spring to summer and it is the perfect time to have a popsicle. Today's card was inspired by the Lawn Fawn I Scream, You Scream die set and a piece of popsicle paper from Amy Tangerine's Stay Sweet collection.  

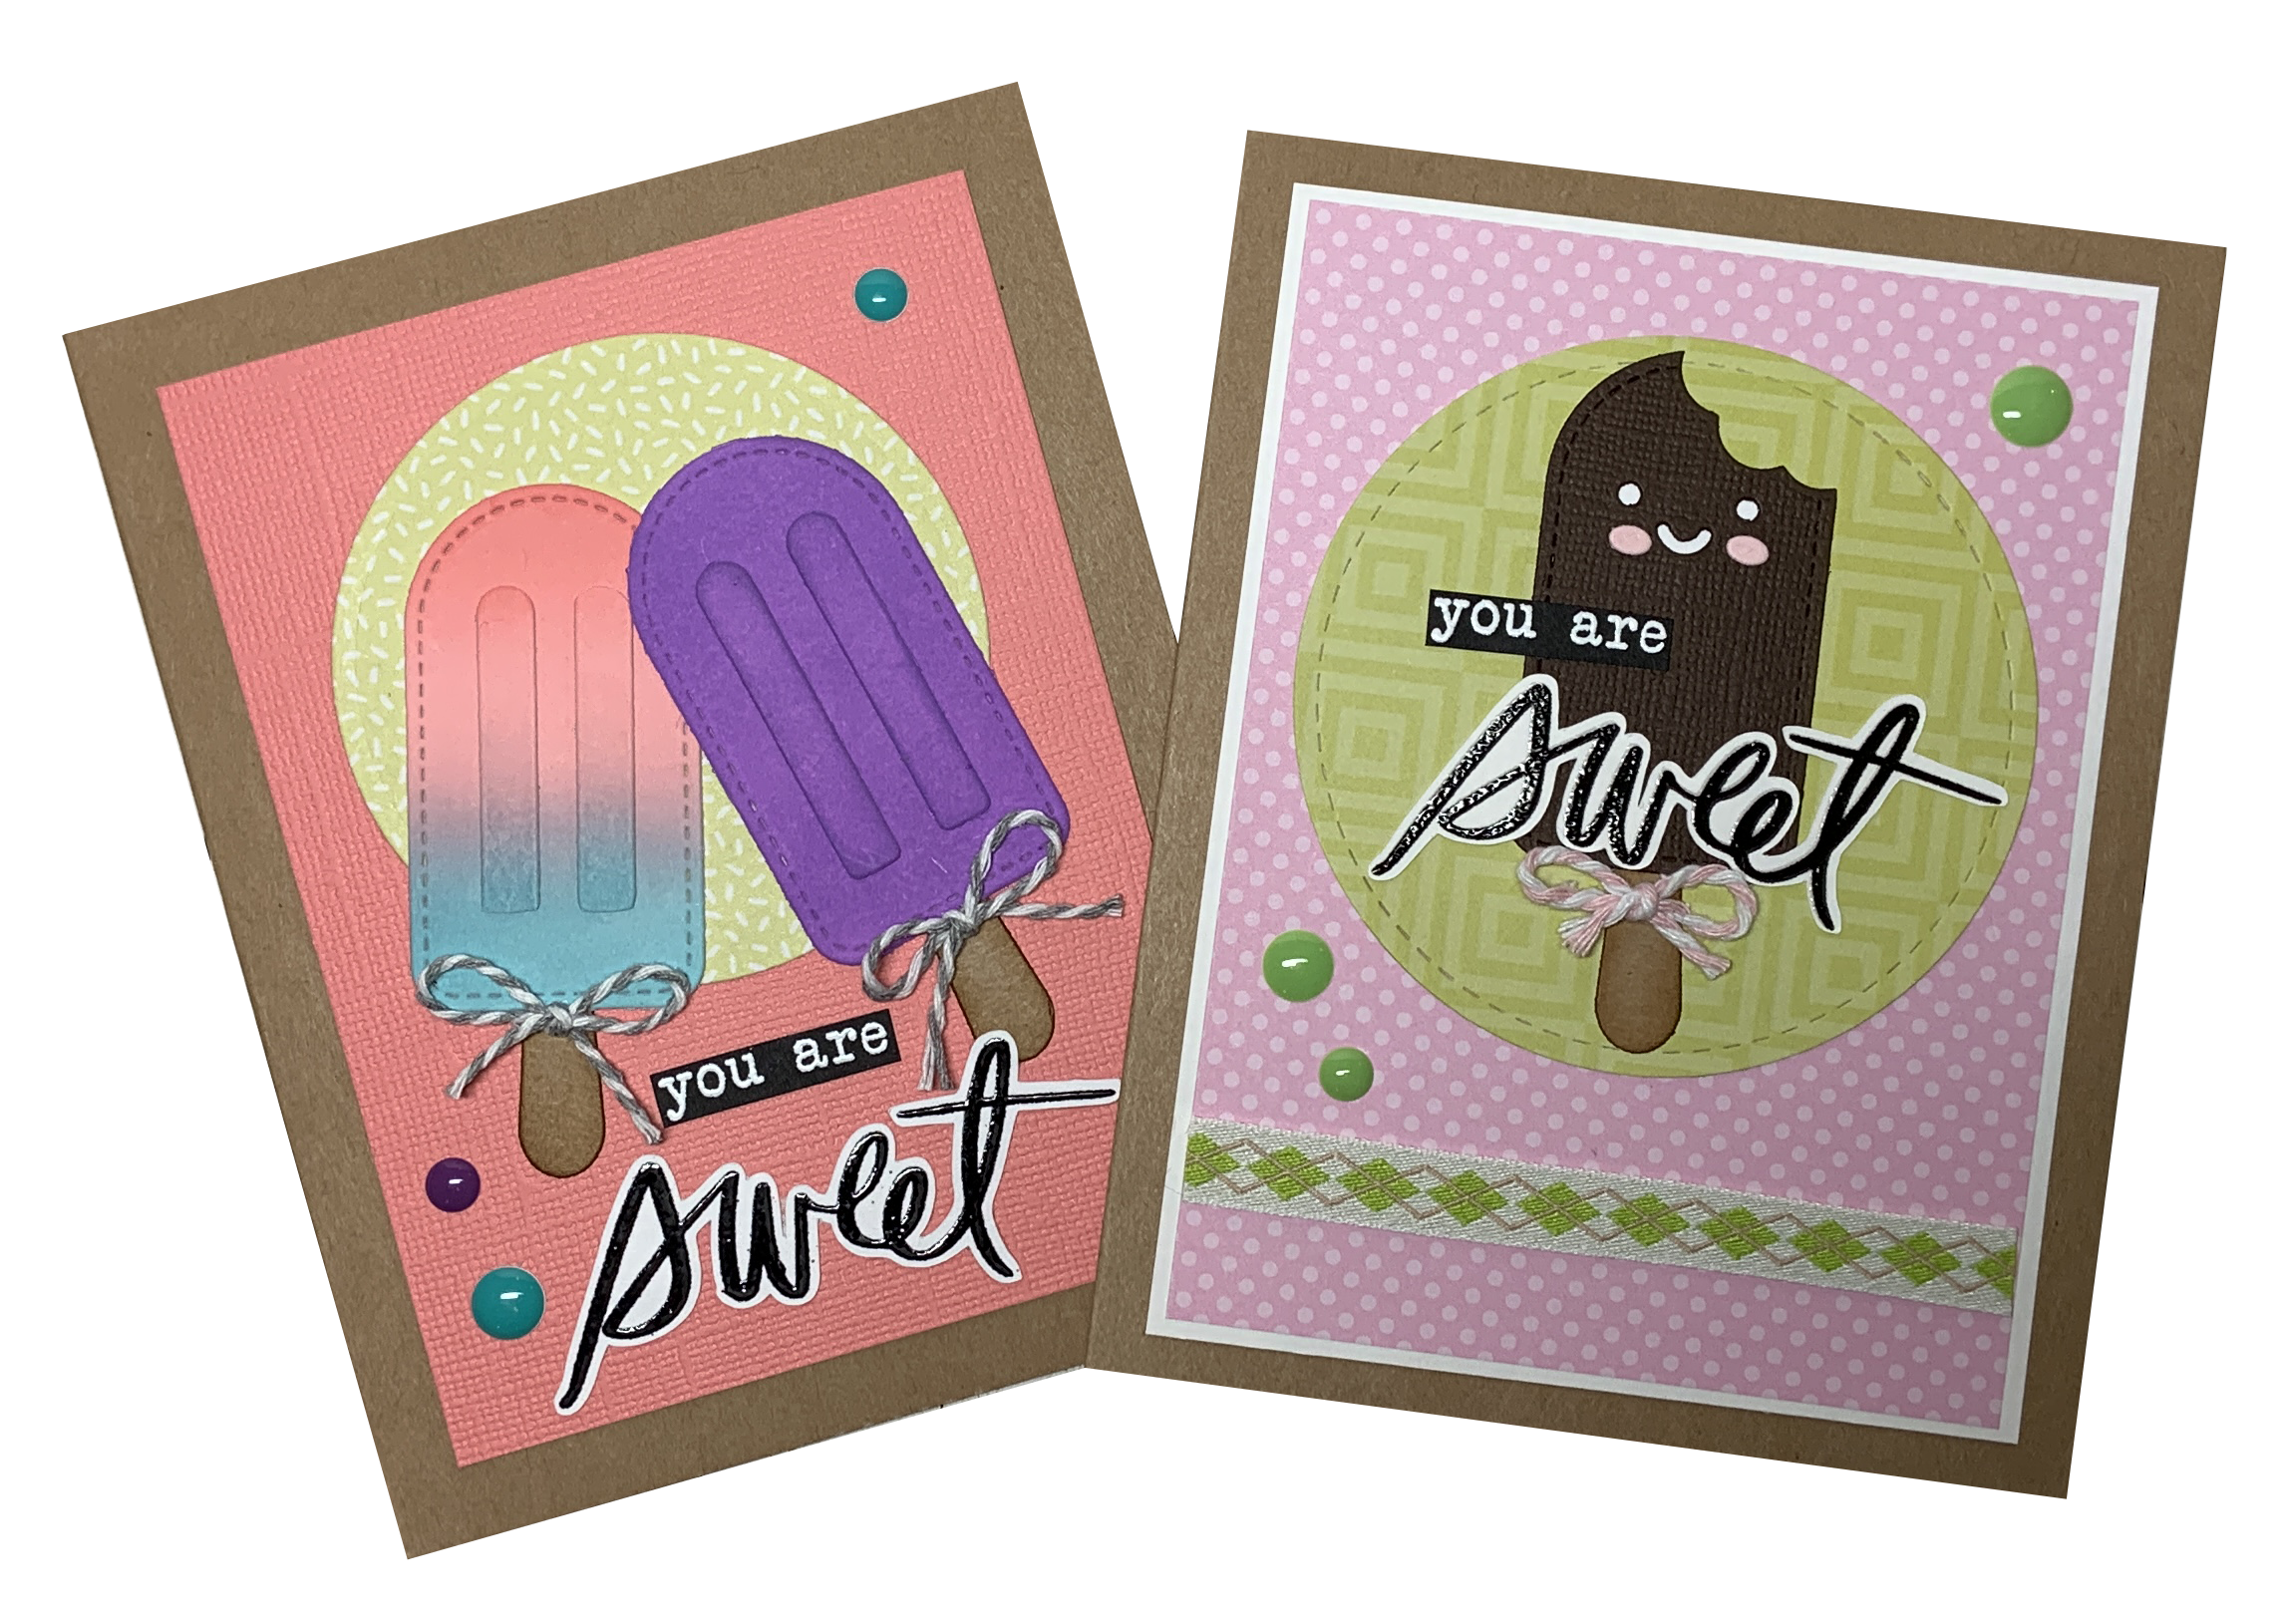
I wanted to mimic a tricolored popsicle on the Amy Tangerine Popsicle Summer paper. To make the popsicle, I ink blended Distress Oxide inks in the colors peacock feathers, abandoned coral, and spun sugar on Strathmore Bristol smooth cardstock. I die cut out the tri-blended popsicle shapes.  I also die cut the popsicle stick out of kraft cardstock and inked the edges in vintage photo Distress ink.  For the purple popsicle, I repeated the process using wilted violet Distress Oxide ink.  I die cut a stitched circle from a lime green piece of paper from the Stay Sweet collection.  The sentiments were made from a combination of Heidi Swapp sentiment stamps.  I heat embossed the "you are" sentiment in white on black cardstock.  I also stamped the "sweet" sentiment in Versafine onyx black ink and then clear heat embossed it.  All the pieces were glued onto a piece of salmon-colored cardstock and mounted to a kraft card base.  I tied a bow made from gray and white twine to each popsicle stick and embellished with turquoise and purple enamel dots.
I had so much fun making the first card, that I wanted to make another and take advantage of the cute faces included in the die set.  This time, I cut a fudge bar from dark brown cardstock.  I die cut the sweet face out of the popsicle and backed it in white cardstock to make the face more visible.  I also used the die that makes it look like someone took a bite out of the top of the popsicle.  I die cut cheeks out of pink cardstock and glued them to the popsicle.  For the stitched circle, I used a different piece of lime green paper from my stash and mounted it to a piece of pink polka dot paper.  This was adhered to white cardstock and then glued to a kraft card base.  The popsicle and sentiments were glue to the lime green circle.  The card was embellished with a pink and white twine bow, lime green enamel dots, and some ribbon.

I love how these cards turned out.  They are the perfect summer treat!

You're Sweet
Supplies:
  • Lawn Fawn I Scream, You Scream Die Set
  • Double Stitched Circle Die Set
  • Tim Holtz Distress Oxide Inks - Abandoned Coral, Peacock Feathers, Spun Sugar, and Wilted Violet
  • Tim Holtz Distress Ink in Vintage Photo
  • 6x8 Amy Tangerine Stay Sweet Paper Pad
  • The Paper Studio - Tiny Polka - Pink Tonal
  • Heidi Swapp Stamp Sets - Sentiments and Magnolia Jane
  • Versafine Onyx Black Ink
  • Versamark Watermark Stamp Pad
  • Recollections Detail Embossing Powder - Snow
  • Hampton Arts Clear Embossing Powder
  • Cardstock by Recollections™ 
  • The Paper Studio Twine
  • The Paper Studio Enamel Dots

Comments

Popular posts from this blog

Ready Player One

Today's card is a fun virtual reality birthday card created in Cricut Design Space and features a vibrant title backed by an alcohol inked panel. A couple of years ago, my son and I read the book Ready Player One,  a science fiction book about humanity's use of virtual reality to escape the real world. Fast forward a few years and now he wants his own virtual reality headset for his birthday.  I created this card for him to celebrate our love for this book and to serve as a precursor of the birthday gift that was to come. While creating this card, I wore the movie T-Shirt I bought last year so I could mimic the movie title font and colors.  I needed an easy way to make the title out of rainbow colors so I placed a few colors of alcohol ink on a felt pad and swiped it across Yupo Paper.  I downloaded and installed the font used for the movie title and cut the title out of a black A2 card panel using Cricut Design Space.  I backed the black card panel with th...

Hero Arts Citrus Cards

Today I had fun playing with the Hero Arts Fresh Citrus Bold Prints background stamp and the Hero Arts Zest Wishes Stamp Set to create these fun and fresh set of cards. I started by creating the backgrounds.  I used white cardstock and stamped it with the background stamp using VersaMark Ink.  I heat embossed the panels with white embossing powder.  Then, I used a foam blending tool and blended Scattered Straw, Squeezed Lemonade, and Twisted Citron Tim Holtz Distress Oxide Inks to ink the card panels.  For some panels, I used only one ink and other panels I used a combination of all the inks.  I cut the inked backgrounds down to 4" x 5.25" and matte each panel on a black card base.   For one card, I used the excess strips from when I cut down the inked panels, and adhered these strips to a black card panel, leaving a little of the black background showing in between each of the strips. I stamped all the citrus fruits, leaves, flowers, and branches on w...

College Life

Today's layout was inspired by @christys_beautiful_life 30 Days of Sketches Round 8, Day 5.  I decided to focus the layout on my daughter's college move-in day.  The Scraptember challenge for this layout was to use a themed collection for a non-themed layout.  I used the B-sides of the papers from the Echo Park A Boy's Life collection.  I started by printing three 4x4 photos and backed these in gray cardstock.  I cut an 8x10 piece of blue and white striped paper, inked the edges with Hickory Smoke Distress Oxide ink, and backed it in navy blue cardstock.  The large banner piece measured 3.5x11.  I inked the edges of this strip and backed it in gray cardstock.  The smaller plaid horizontal strip measured 2x11.  I ripped both of the shorter edges of this strip, inked the edges, and backed it with navy blue cardstock.  All these items were layered on top of creme grid paper which was also inked with Hickory Smoke Distress Oxide ink. To...