
Class of 2021

It's graduation time and I have a fun and easy layout to share with you.  This layout features my daughter at her Senior awards ceremony.  Her high school colors are black and gold which matched perfectly with this year's graduation collection at Michaels.  


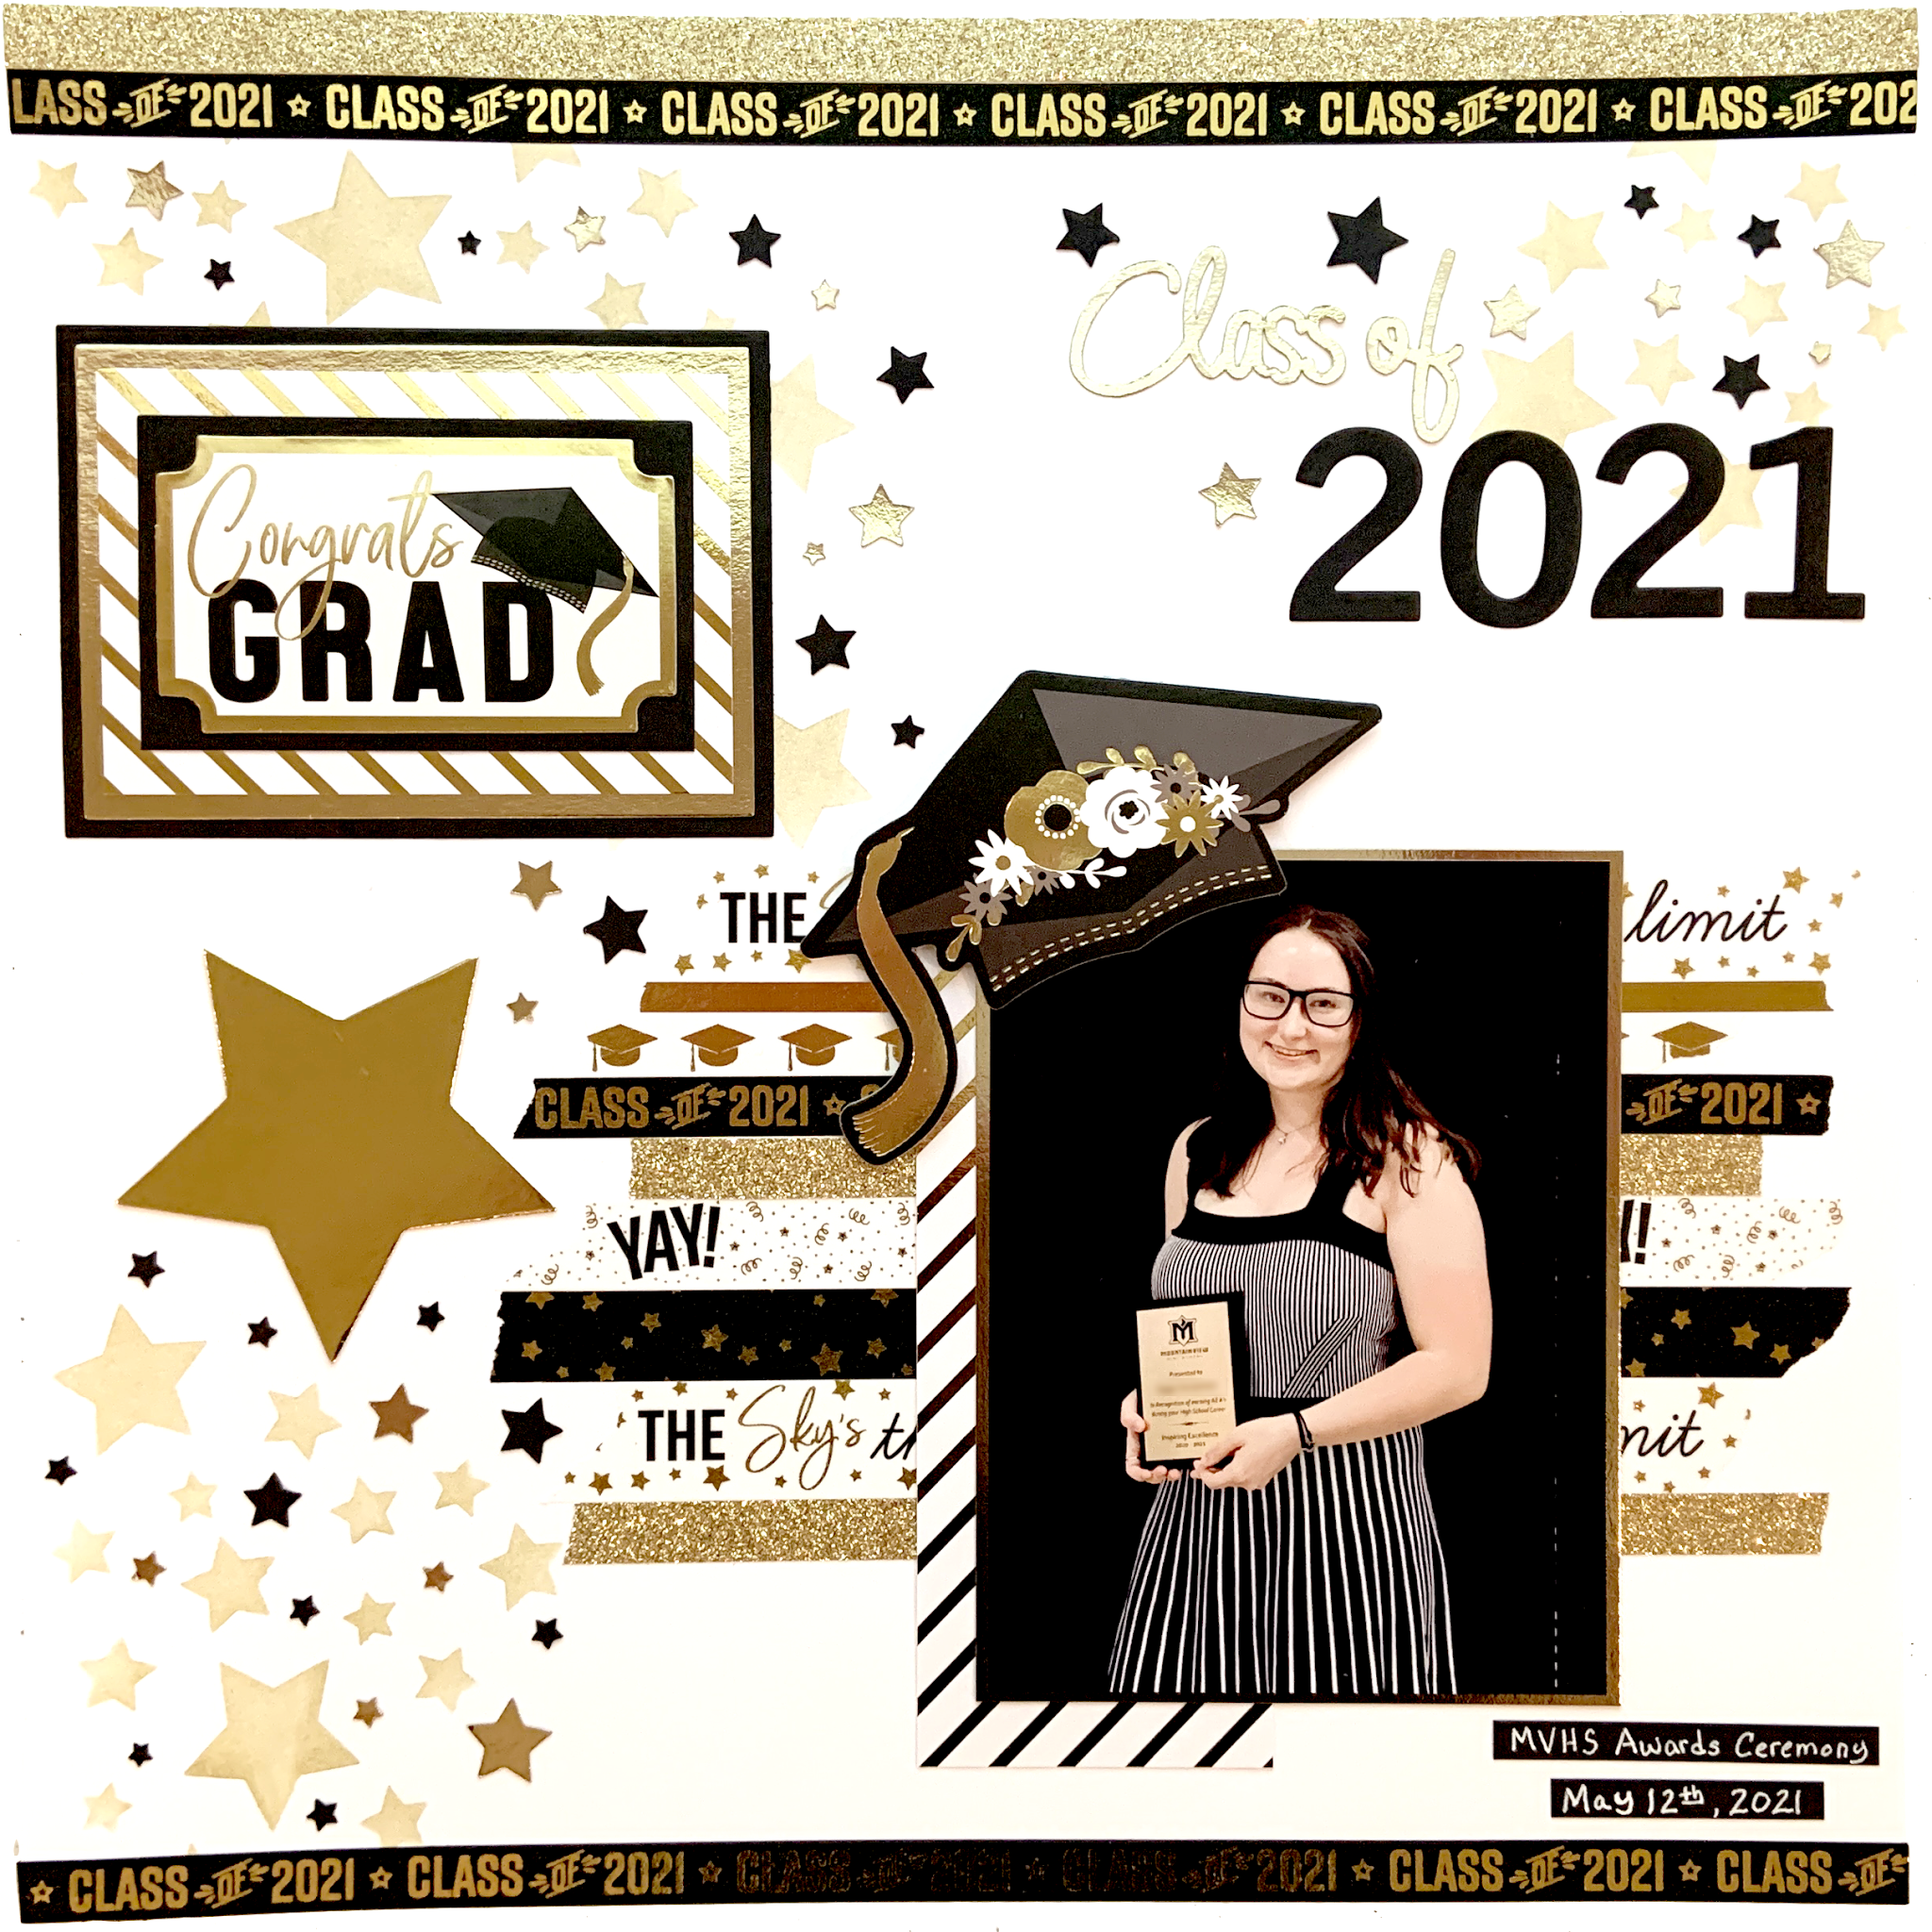
I started by layering strips of each of the washi tapes in the bottom right of the layout.  In the other corners of the layout, I used a stencil brush to add gold gelato through a star stencil.


I recently purchased a Heidi Swapp Minc machine and wanted to add some gold foiling to the layout.  Using the Minc machine, I created my own gold foiled diagonal striped patterned paper.  


I matte the photo with gold foil cardstock.  I placed a piece of the diagonal striped gold foil paper behind the left side of the photo.  The photo was glued on top of the washi tape.  I used foam tape to pop up the graduation hat ephemera piece across the top left of the photo.


I used my Cricut machine to cut the title and stars out of black gold foil cardstock.  I glued the title to the upper right of the page.  I glued the black and gold stars in the spaces between the gold stenciled stars.  I also added the large gold star from the ephemera pack to the star cluster on the left side of the layout.


I used the "Congrats Grad" ephemera piece and layered it with all the coordinating papers.  This was placed on top of the star cluster located in the upper left corner.


To finish the layout, I added strips of washi tape to the top and bottom of the layout.  I used a white gel pen to add a small amount of journaling on black cardstock below the photo.  This is the perfect layout to celebrate my daughter's hard work and all that she was able to accomplish in her high school career.

Class of 2021
Supplies:
  • Recollections Cardstock - White, Black, and Gold Foil Cardstock
  • Michaels Graduation Washi Tape and Sticker Pack
  • Simple Stories Birthday Blast 6x6 Stencil
  • Tim Holtz Distress Blending Brush
  • Faber-Castell Metallic Gelato - Gold Champagne
  • Heidi Swapp Minc Machine and Gold Foil
  • Momenta Number Dies
  • Cricut

Comments

Post a Comment

Popular posts from this blog

Tim Holtz Spencer Halloween Card

I can't get enough of Tim Holtz's Colorize Spencer die set.  The detail and dimension of this image is absolutely amazing.  Today's card features Spencer, 3-D embossing folders, and a few other Tim Holtz Halloween dies sets. The main card panel was made by embossing a piece of silver foil cardstock using the Sizzix 3-D Textured Impressions Pinwheel embossing folder.  I watered down a few drops of black acrylic paint and used a paint brush to brush the paint onto the embossed panel.  I let the paint dry for about a minute and then took a paper towel to rub off the excess paint.  I adhered this panel to a black card base. The smaller card panel was made by embossing a piece of black cardstock with the Tim Holtz Sizzix 3-D Texture Fades Mini Cobblestone embossing folder.  I added a few drops of Sterling Distress Foundry Wax to a craft mat and used my finger to apply the Foundry Wax to the embossed panel.  I added a black matte behind this emboss...

I'd Cross the Ocean For You

I just received the Seas the Day stamp set by Dare 2B Artzy and I couldn't wait to use the images and sentiments to make some ocean-themed cards.   I started out by stamping the manatee and shells and colored them with Copic markers.  For the card front, I used Pixie Spray on the back of a mermaid scales stencil and adhered it to a piece of Bristol smooth cardstock.  I blended 3 colors of blue Distress Oxide Inks to make it look like the ocean water was getting lighter near the surface.  To add a little bit of sparkle to the water, I splattered some glitter ink on the stenciled card front. I decided to make this a shaker card, so I used a scallop square die to cut a window out of the center of the card front.  A piece of acetate was glued to the back of this window.  I blended Tumbled Glass Distress Oxide Ink on the white card base.  A sequence mixture was made using blue, white, and iridescent sequence.  I glued a few of the sequence pieces ...

Ready Player One

Today's card is a fun virtual reality birthday card created in Cricut Design Space and features a vibrant title backed by an alcohol inked panel. A couple of years ago, my son and I read the book Ready Player One,  a science fiction book about humanity's use of virtual reality to escape the real world. Fast forward a few years and now he wants his own virtual reality headset for his birthday.  I created this card for him to celebrate our love for this book and to serve as a precursor of the birthday gift that was to come. While creating this card, I wore the movie T-Shirt I bought last year so I could mimic the movie title font and colors.  I needed an easy way to make the title out of rainbow colors so I placed a few colors of alcohol ink on a felt pad and swiped it across Yupo Paper.  I downloaded and installed the font used for the movie title and cut the title out of a black A2 card panel using Cricut Design Space.  I backed the black card panel with th...