
Born to Shine

Today's layout was inspired by Day 13 of @christys_beautiful_life 30 Days of Sketches Series 8.  Today's star sketch was created by Lottie Loves Paper.  The Scraptember challenge for this sketch was of course stars. 


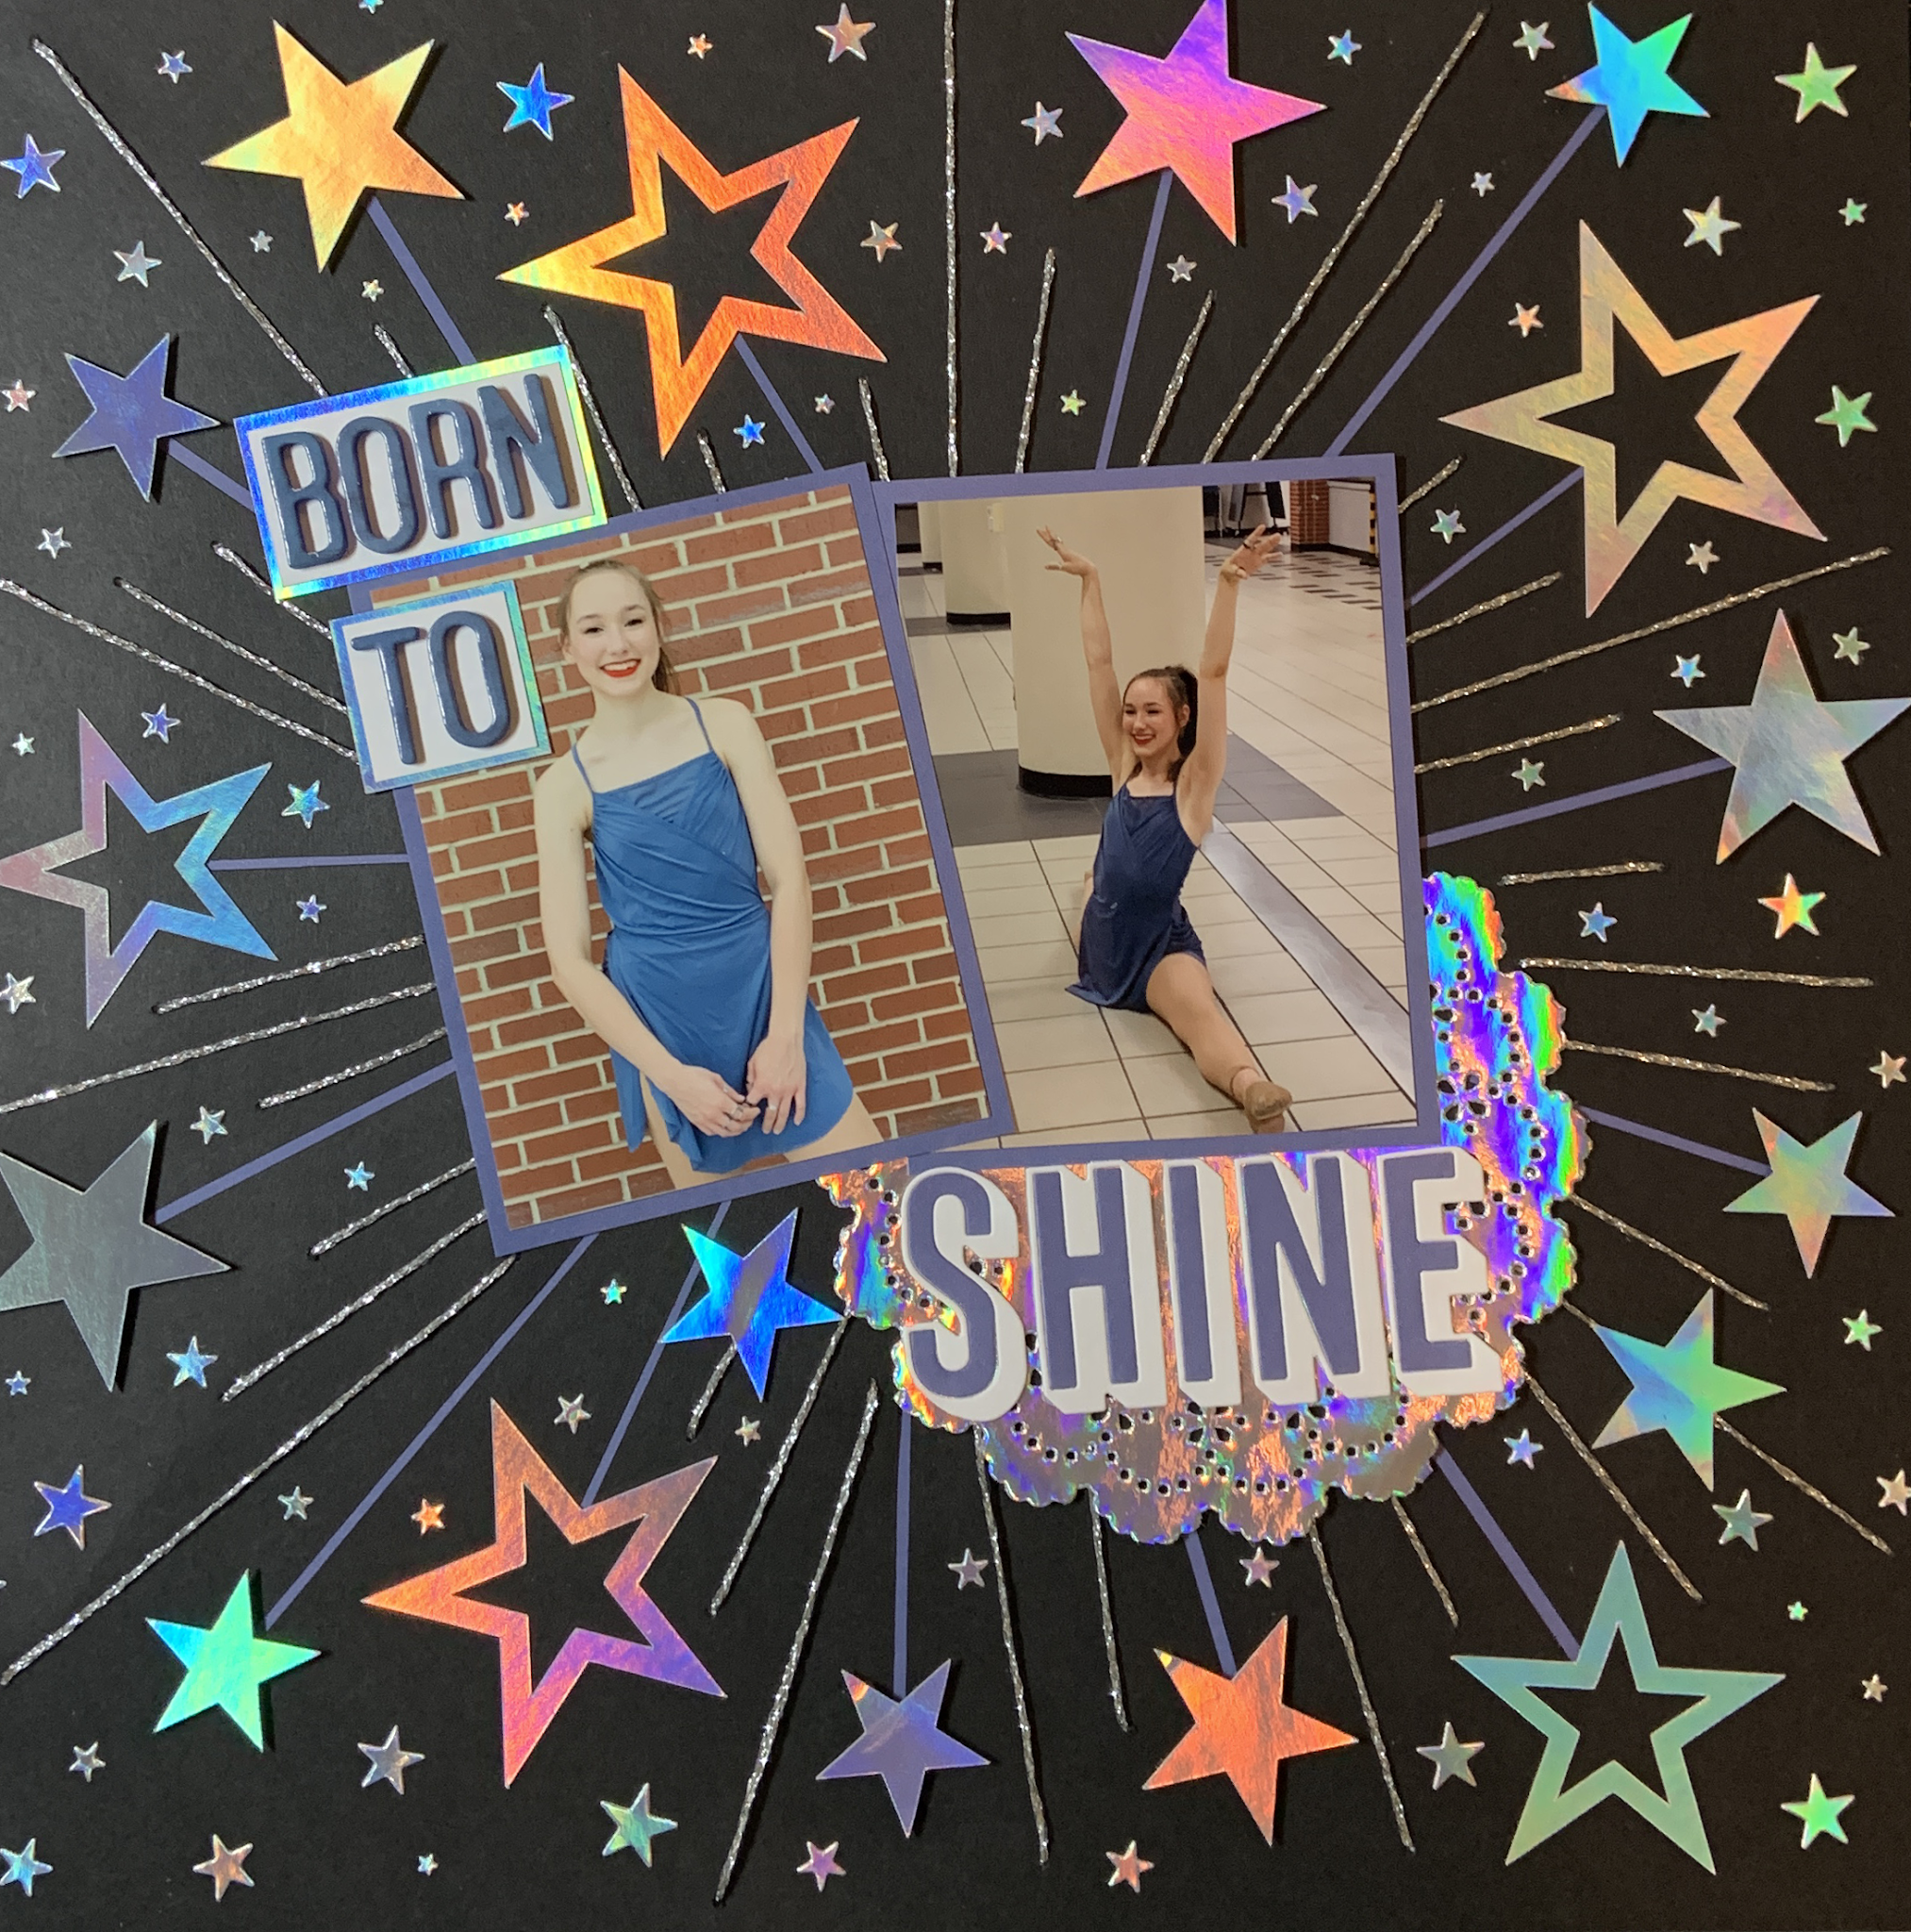
This layout was a labor of love as it took me all week to create it.  I knew I wanted to do some stitching, but I also wanted some color to come from behind the paper.  I designed the larger starbursts and stars in Cricut Design Space.  I cut the starbursts from a 12x12 piece of black cardstock.  The stars were cut from holographic cardstock.


I popped up the larger solid stars using black foam tape. After gluing the rest of the stars to the black cardstock, I used a ruler and a pencil to draw in the rest of the lines in between the stars and radiating out from the center of the layout.  I used an embroidery needle and silver sparkle twine to stitch over the pencil-marked lines.  I filled in the rest of the spaces with assorted sizes of holographic stars die cut from the Tim Holtz Falling Stars Thinlit die set.  I found a piece of purple cardstock that matched my daughter's dance costume and adhered it behind the piece of black 12x12 cardstock so that the purple paper would show through the larger starburst lines that were cut using the Cricut machine. 


I took two 3x4 photos and matted them with purple cardstock.  I placed them in the center of the layout on top of a holographic doily.


The title was created using a combination of purple Thickers and some Thinlit dies.  I placed the Thickers onto white cardstock and matte them with purple cardstock.  These were placed in the upper left of the layout overlapping the photo.  


The die-cut portion of the title was placed across the doily.  To protect the stitching and to give the layout more stability, I adhered the layout to a piece of white 12x12 cardstock.


This layout was created in several stages over the course of the week.  It was worth the time and effort and I love how it turned out. 

Born to Shine
Supplies:
  • Recollections Cardstock - black, white, and holographic foil
  • Cricut Design Space and Cricut Explore
  • Dear Lizzy She's Magic 12x12 Project Pad - Purple Solid Cardstock
  • Tim Holtz Sizzix Thinlits - Falling Stars and Alphanumeric Shadow Upper
  • Thickers Foam Stickers - Indigo
  • Embroidery Needle
  • Martha Stewart Silver Sparkle Twine
  • Martha Stewart Holographic Doily
  • Black Foam Tape

Comments

  1. Oh, it looks so good! All of that extra time and effort was worth it. Way to go! 🤩

    ReplyDelete

Post a Comment

Popular posts from this blog

Lost in the Inky Darkness

Today's card features a few of the new Tim Holtz Sizzix and Ranger Halloween products.  I could not wait to use the Tim Holtz Skulls 3-D Texture Fades embossing folder and combine it with Distress inks and spray stains. I started by inking the flat side of the embossing folder with Black Soot Distress Archival Ink.  I sprayed a panel of water color paper with water and carefully placed this paper into the embossing folder. I ran the embossing folder through my Sizzix Big Shot 3 times. I took the embossed panel out of the embossing folder and cleaned the embossing folder with StazOn All-Purpose Stamp Cleaner. Next, I sprayed the panel with Tim Holtz Decayed Distress Mica Stain.  This gave it a green tinge with a hint of sparkle.  I decided to seal the card panel by dipping a foam blending pad into Distress Micro Glaze and dabbing this onto the card panel.  I glued a black cardstock matte behind the embossed panel and adhered it to a white card base. For the sentiment, I used the &qu

Tim Holtz Spencer Halloween Card

I can't get enough of Tim Holtz's Colorize Spencer die set.  The detail and dimension of this image is absolutely amazing.  Today's card features Spencer, 3-D embossing folders, and a few other Tim Holtz Halloween dies sets. The main card panel was made by embossing a piece of silver foil cardstock using the Sizzix 3-D Textured Impressions Pinwheel embossing folder.  I watered down a few drops of black acrylic paint and used a paint brush to brush the paint onto the embossed panel.  I let the paint dry for about a minute and then took a paper towel to rub off the excess paint.  I adhered this panel to a black card base. The smaller card panel was made by embossing a piece of black cardstock with the Tim Holtz Sizzix 3-D Texture Fades Mini Cobblestone embossing folder.  I added a few drops of Sterling Distress Foundry Wax to a craft mat and used my finger to apply the Foundry Wax to the embossed panel.  I added a black matte behind this embossed panel and adhered it at an an

First Day of School

Today's layout was inspired by @christys_beautiful_life 30 Days of Sketches Round 8, Day 3.  I decided to focus the layout on a photo of this year's first day of school. The layout has several sketched circles.  I decided to break out the sewing machine and sew a few black circles using a variety of stitches.   The Scraptember challenge combined with this sketch was layering. So I grabbed the Simple Stories Smarty Pants collection and layered up a bunch of the branding strips and the patterned papers found on the journaling cards. I used the letter stickers from the collection to create the title.  I also used some of the stickers to embellish the title and photo, and also to create an embellishment cluster in the upper right corner of the layout.  To finish off the layout, I splattered it with black ink. I love the 30 Days of Sketches because it is a great way to use up older collections and challenges me to utilize techniques that I don't often use in my layouts. First Da